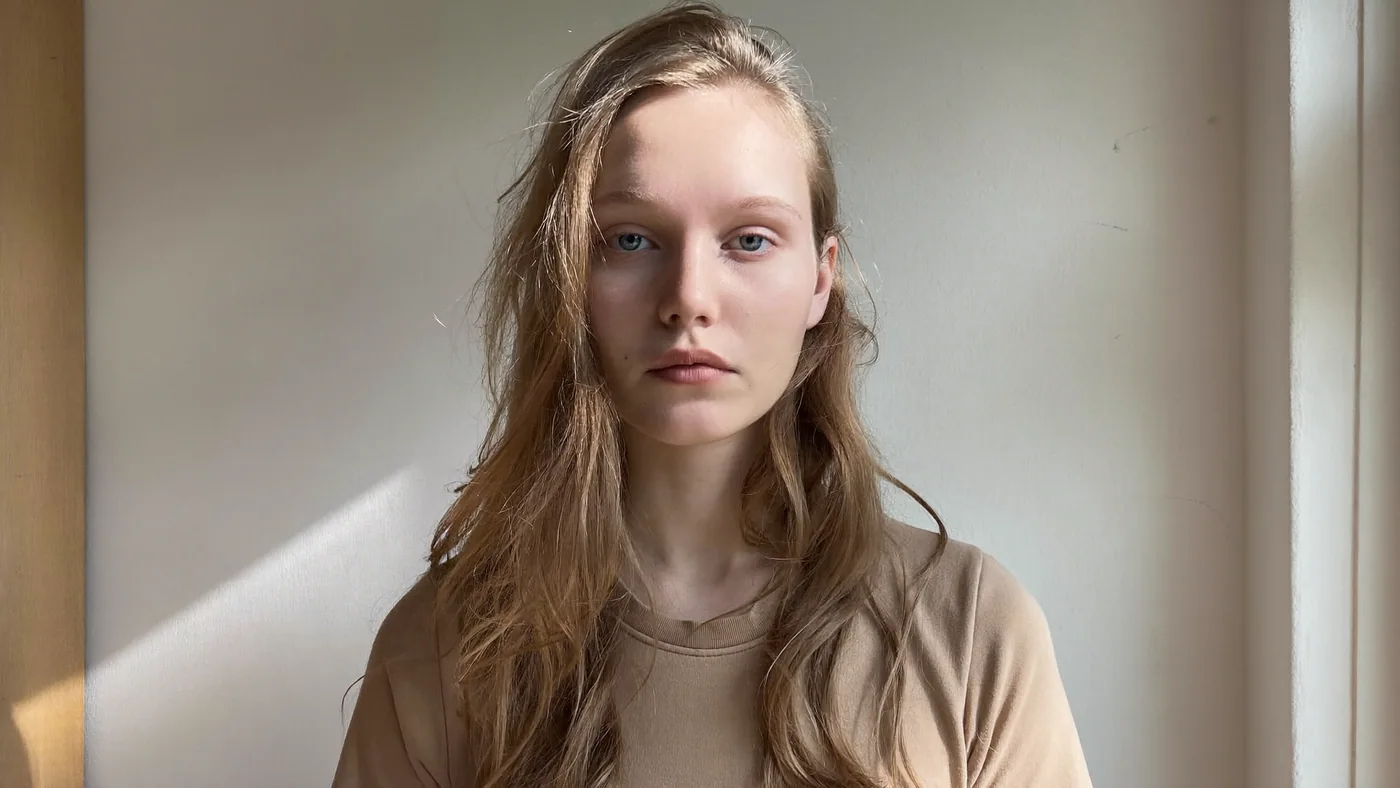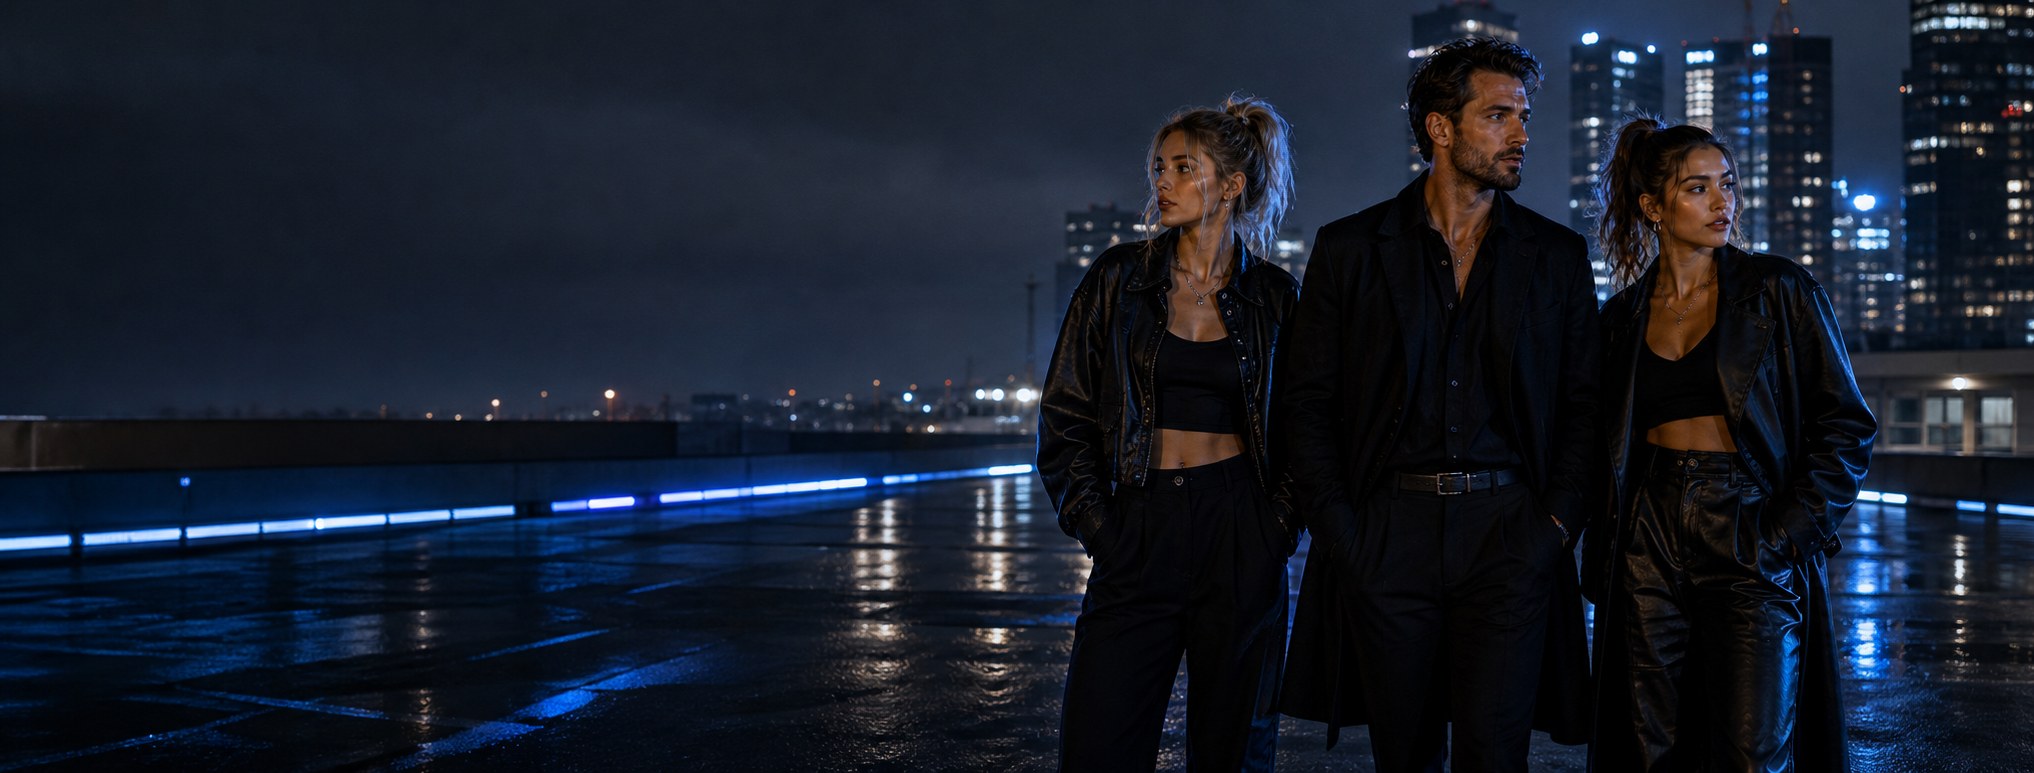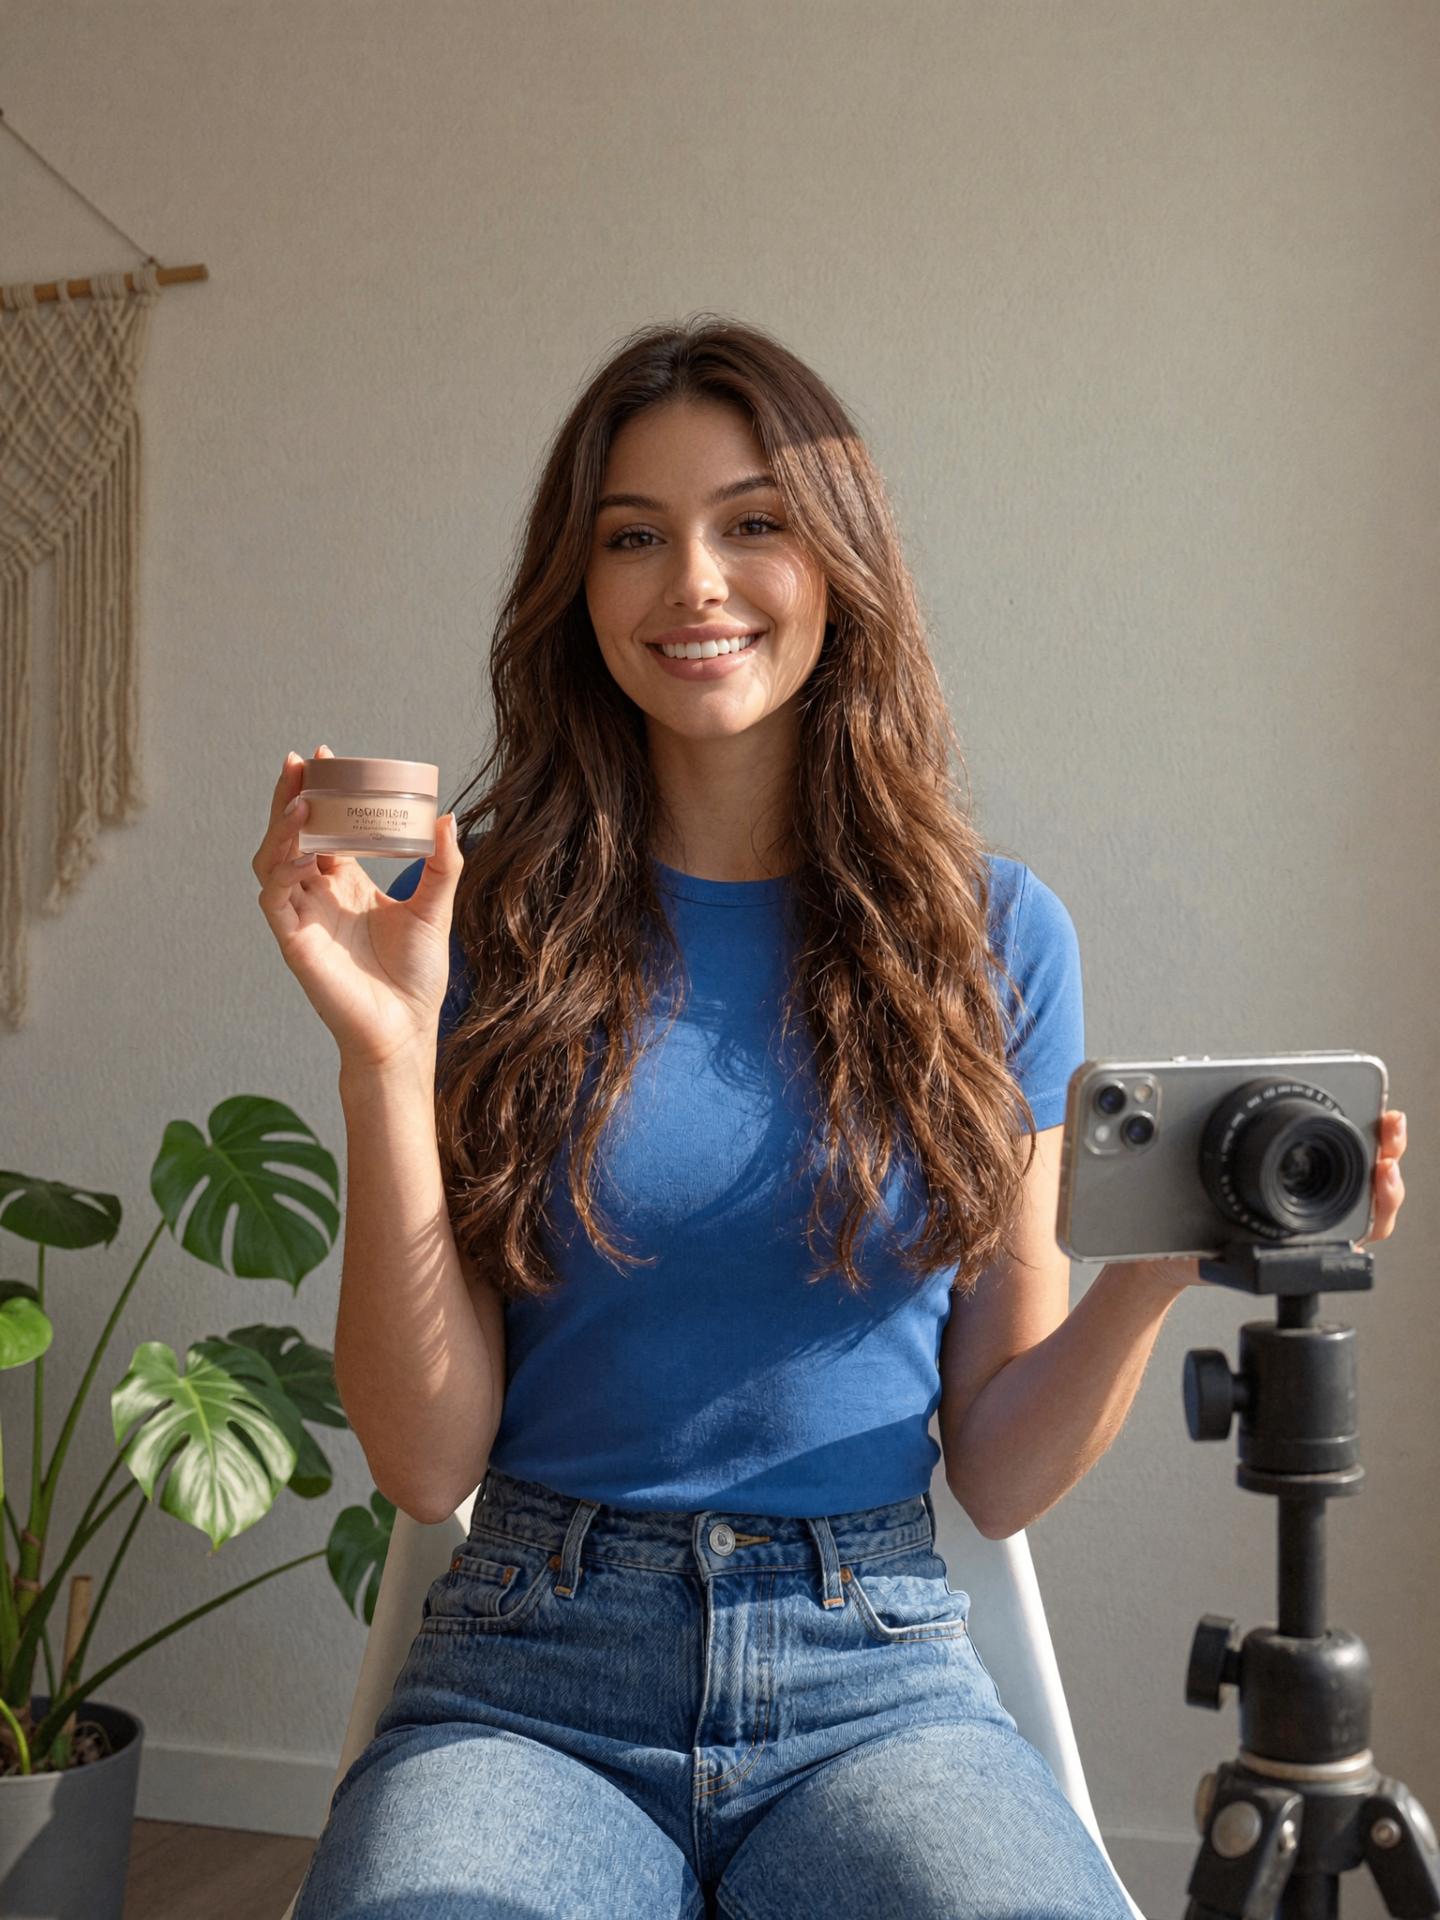


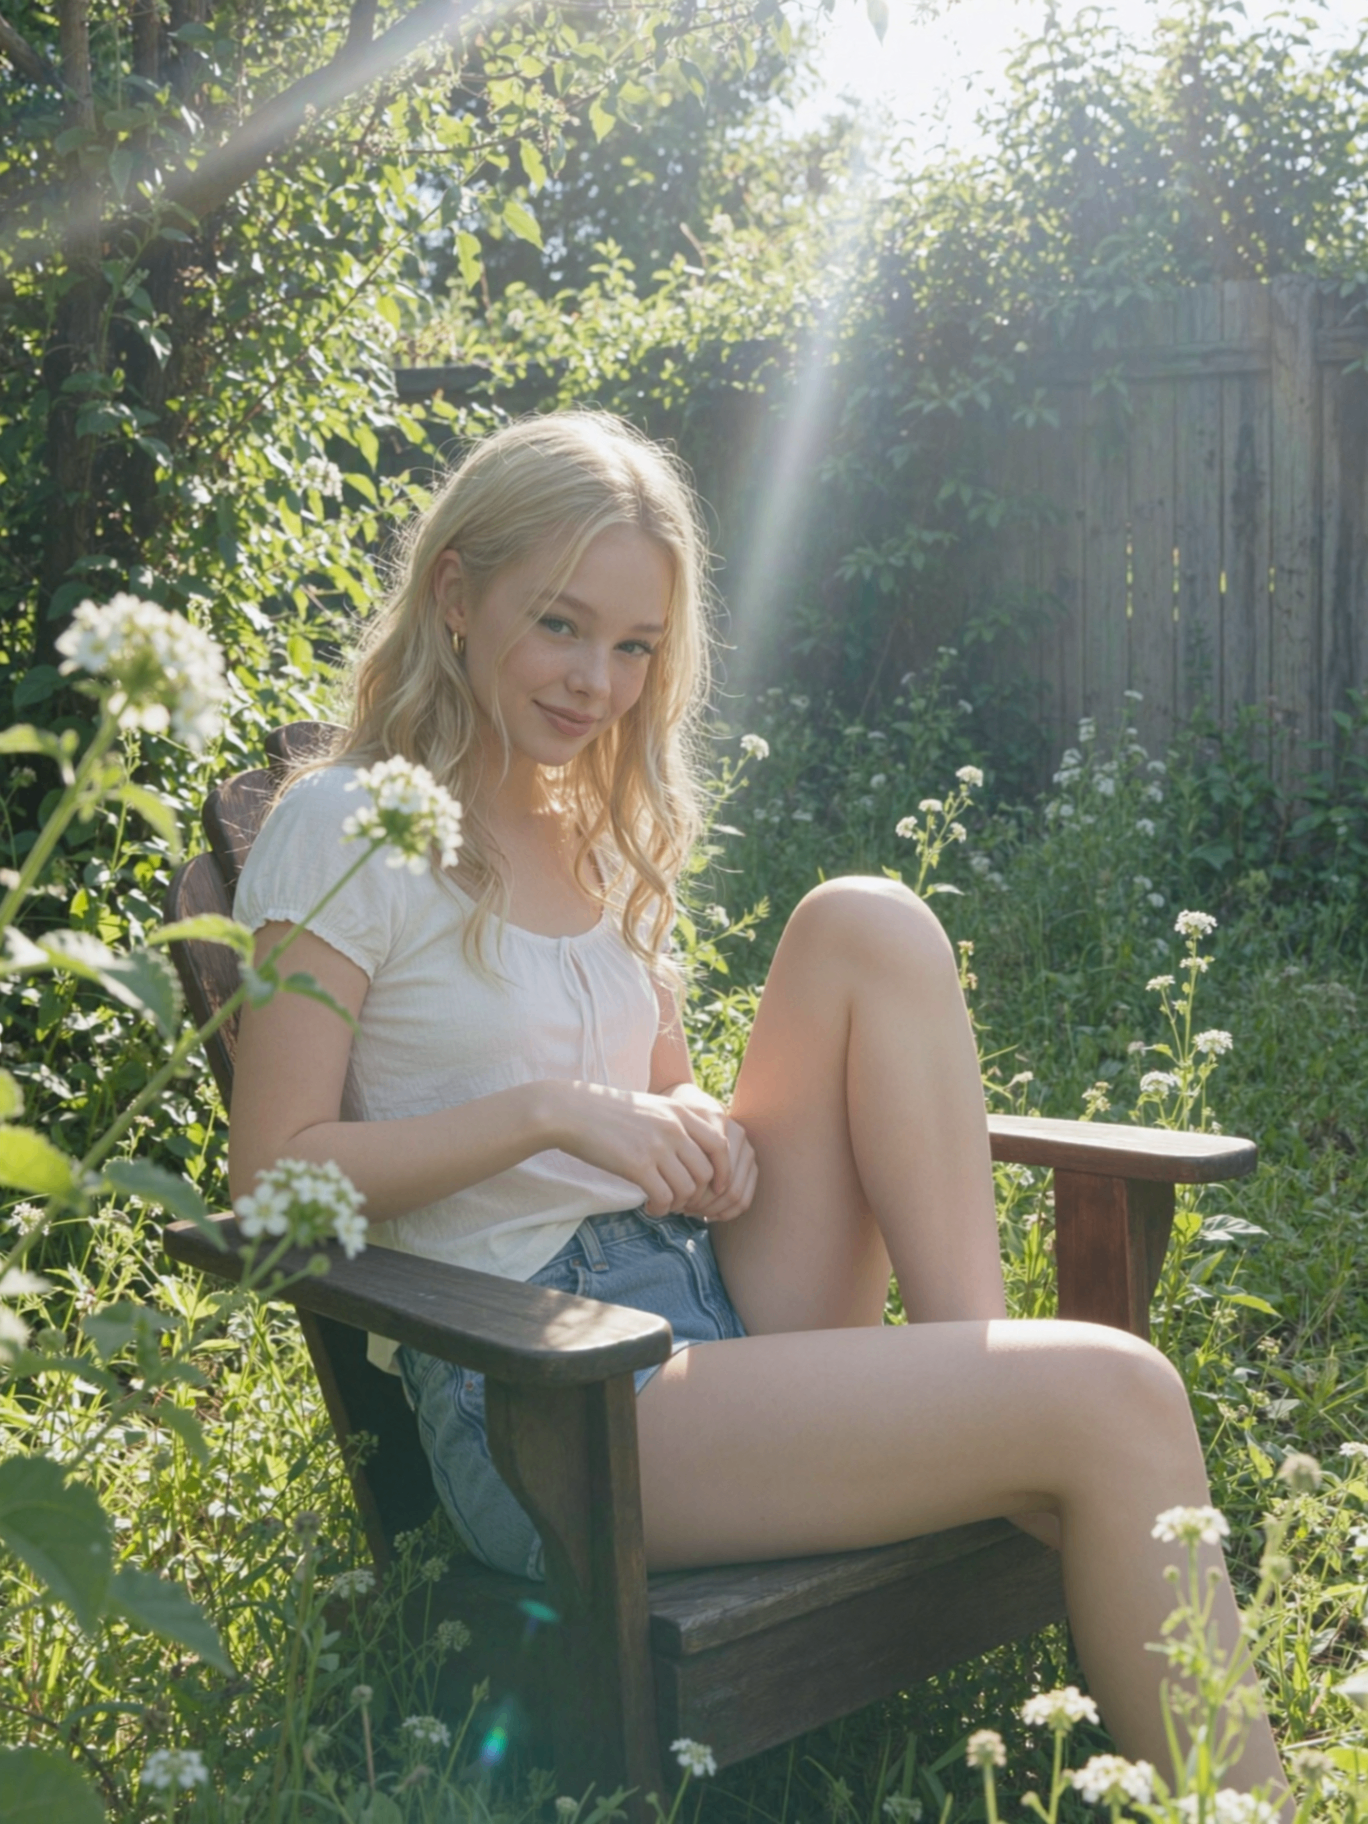
What an AI photoshoot replaces (and what it doesn't)
An AI fashion photoshoot replaces the day-rate layer of production — catalog variants, colorways, social volume — not the hero-campaign layer where real photographic craft still earns its budget. Treated that way, the workflow below turns a $2,000–$10,000 shoot day into a planning session and a four-figure credit budget. The fashion e-commerce use case covers where this fits a brand's overall content mix.
The structure mirrors a physical production on purpose: moodboard, shot list, shoot, select, retouch, deliver. The steps that cost money in the physical world cost credits here, which means the discipline that saves money is the same — decide before you shoot. The familiarity transfers both directions: teams that have run physical shoots recognize the structure immediately, and teams that started digital inherit a workflow any photographer they later hire will understand.
Step 1 — Build the moodboard and shot list first
Everything downstream gets cheaper when creative decisions are made before generation starts. Assemble a moodboard covering lighting, palette, poses and locations, then write a shot list exactly as a photographer would receive it: shot type, framing, wardrobe, setting, intended use. A 20-shot list with three variants each is a 60-image session — plan it as one document, not as sixty prompts improvised at the keyboard. An hour in the document routinely saves several hundred credits at the keyboard.
- Group shots by setting so one preset covers each group
- Note the destination per shot — product page, feed, story, lookbook — because it decides the final resolution
- Flag the 3–5 hero shots that should receive a final 1080p render; keep the remaining drafts at 720p
Step 2 — Lock the persona and one Forge Style per setting
Catalog consistency comes from two locks. The first is the trained persona — a one-time 720 credits, and the first-photoshoot walkthrough covers going from trained model to first usable batch. The second is a fixed preset per setting group: the preset holds lighting, mood and framing constant so 'studio catalog look' is the same look on image 4 and image 44.
Resist the urge to art-direct per image. In a physical shoot the lighting rig does not change between frames; here the preset is the lighting rig. Change wardrobe and pose per the shot list, keep everything else frozen.
Step 3 — Batch-generate drafts at working resolution
Generate the entire shot list at 720p (12 credits) or 1080p (14 credits) first. Drafts exist to be judged, and judging 60 drafts costs 720–840 credits — less than a single re-shot garment costs in the physical world. Keep the prompt's style block fixed and vary only the shot-list variables.
When a frame is nearly right, re-roll with the same seed and a small prompt change instead of starting over. Seed reuse is how you keep a pose and lighting you like while fixing a collar, a cuff or a background — it turns retouching-by-regeneration into a controlled step instead of a lottery.
Step 4 — Re-render selects at the resolution the use needs
Resolution is a budget decision, not a quality reflex. Generate the working set at 720p for 12 credits, then re-render only the selected feed, product-page, and lookbook images at 1080p for 14 credits. Fifteen final HD renders add 210 credits to a 60-image draft session.
That discipline keeps the catalog session near 1,000 credits before retries instead of spending HD credits on every rejected frame.
Step 5 — Organize, export and log the recipe
Group finals into collections by drop or campaign and export ZIPs per destination channel — the collections guide covers the mechanics. Keep the shot list next to the exports with the seed and preset noted per final image: next season's session reproduces the look from that log instead of rediscovering it.
The one honest caveat for fashion specifically: exact fabric texture and worn fit remain the hardest part of AI garment imagery. Catalog variants and social volume are the sweet spot; where a specific item has to be reproduced exactly, switch lanes and attach its photo to a UGC product ad render (56 credits) instead of describing it, and leave the fit-and-drape shots to a real camera.
Prompt patterns that keep a catalog coherent
Across all five steps, the same few prompt habits separate a catalog that reads as one shoot from a folder of nice-but-unrelated images:
- One fixed style block per setting group — same lighting adjective, same photography label, never paraphrased
- Name fabrics and fit, not just garments: 'relaxed linen shirt, sleeves rolled' renders more truthfully than 'shirt'
- Keep camera language constant: if the catalog is '85mm, eye level', every prompt says so
- Change exactly one variable per variant — pose, colorway or background, never all three at once
A worked credit budget
The full session above — 60 drafts at 720p (720 credits), 15 finals re-rendered at 1080p (210 credits), plus retries — lands around 1,000–1,200 credits. That fits inside Starter's 3,000 monthly credits with room for a second session; higher-volume brands running several personas or adding product and motion work may fit Studio at €149/month better.
If the session repeats monthly, log actual credit spend against the plan for two cycles before changing tiers — measured usage beats forecast usage every time.